A network (shared) printer is used in small firms so that printing equipment does not stand idle. Users get access through any electronic device. Before using a shared printer, you must preinstall it.
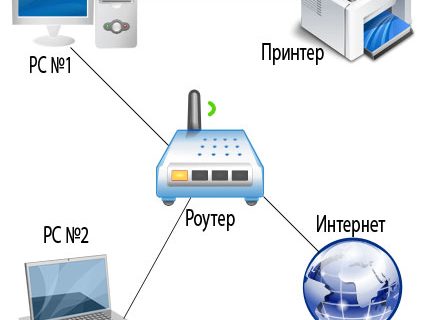
Connection is performed using:
- router
- patch cord, cable with Ethernet connector;
- Wi-Fi
- USB
Print server
If it is possible to use the router as a print server, then perform the following steps:
- turn off the power of the router;
- connect the printer via Ethernet;
- turn on the router and then the printer.
Next, configure the computer / laptop according to the instructions.
Connection via Ethernet, Wi-Fi, USB
If the router does not have a print server, then anyway a printing device is connected to it. The router serves simply as a communicator (router).
- There are certain rules for connecting via Wi-Fi (prescribed in the printer's instructions), for example, simultaneously pressing any buttons on both the router and the printer.
- For an Ethernet connection, you just need to connect the “printer-router” cable.
- The USB option involves connecting the printer to a computer / laptop, through which requests to the printing device occur.
Installation
An important condition for connecting is installing the driver (regardless of the type of connection). Install the driver using a boot disk or regular download from the site of the equipment supplier. Some operating systems have the necessary driver.
To install the printer, call the wizard. This is done through the “Run” window (Win + R key): type “control printers” and press “Enter”. Or they simply open the control panel, go to the “Hardware and Sound” section, and then to “Devices and Printers”.
After all, they act according to the algorithm.
- On the top panel, click on "Add Printer."
- After detecting the device, select the top item "Add local ...".
- When choosing a port, mark the item “Create a new ...”, and select “Standart TCP / IP ...” as the type of port.
- The next step is to enter the name or IP address of the printer. The port name is left blank.
- When specifying additional information about the port, “Special” is marked.
- The next step is the type of driver installation. If there is a disk or downloaded programs, then click the "Install from disk ..." button. Otherwise, the manufacturer and model of the device are selected in special windows.
Setting printer access
After installing the driver, the printer is made network (share). To do this, perform the following steps:
- Open the "Computer Property" window.
- Click the link "Change settings" on the right.
- In the tab "Computer Name" click "Change."
- Enter the name of the workgroup (any).
- Through the "Network Control Center" - "Change advanced settings" include network discovery and file sharing and printers.
- They also disable shared access with password protection.
- Through the window "Devices and Printers" select the plug-in model and right-click.
- Select "Printer Properties" from the pop-up menu.
- Select the “Access” tab and check the box “Share this ...”.
- Enter the name of the printer in the text box.
- Going to the "Additional drivers" allows you to pre-install drivers for operating systems of different capacities.
- Select the required bit depth and wait for the software installation to finish.
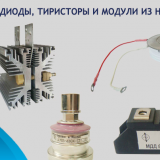 Radio parts: common types of components, their purpose
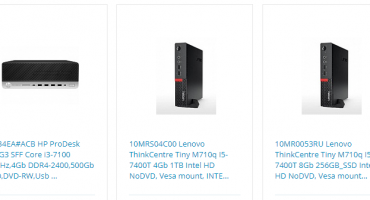
  How to choose the right computer equipment and router
  If the refrigerator freezes hard - what to do
  How to set the camera settings?
  Overview: how to check the hood in the kitchen