One and the same camera can make completely different in quality photographs. It all depends on the ability to properly compose the frame and the correct settings for the camera. Even with perfect lighting, you can get pictures that miss a lot of detail if the photographer does not have all the options for his camera.
First time after purchase slr cameraInexperienced user uses automatic mode in all cases. By adjusting to lighting and other shooting conditions, the camera itself sets the shutter speed and aperture. If you also set autofocus, the percentage of rejects is minimal. But expressive art photographs are out of the question.
Therefore, for a novice photographer, to become a professional, you need to quickly begin to explore the manual shooting mode. Among manual and semi-automatic distinguish: "P", "M", "A", "S". In these modes, photo settings are manually configured.
In one hour of photography, the photographer can change options and preset parameters dozens of times. Each time a professional will adjust to the exposure, the amount of light, the plot genre.
The main settings in the camera settings
The choice of a particular shooting mode depends on the subject of the plot and the background in the picture. But, for their competent use, you need to have an idea of the main settings:
Excerpt
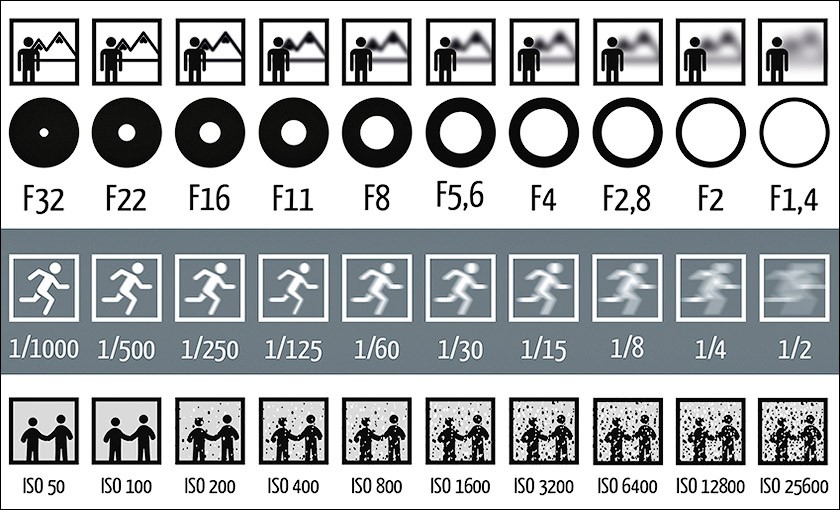
This is the amount of time that the shutter walls are open to take a picture. Exposure is set depending on the speed of the object. The higher the speed, the shorter the shutter speed.
In good light, photographing at a fast shutter speed can be used to draw small moving parts (for example, the model’s developing hair). To reduce motion blur, you need to configure the camera in manual mode (M mode).
Examples of fast shutter speeds when shooting moving subjects
| Moving subject | Fractions of a second |
| Transport | 1/1000 |
| Animals | 1/500 to 1/800 |
| People | 1/200 to 1/500 |
| The waves | 1/300 |
| Water drops | 1/400 |
A slow shutter speed is used to blur moving objects, such as clouds, sparks from sparklers. Long-exposure night landscapes are popular with photographers. However, to use the slow shutter speed you need more professionalism, experience and a tripod.
Examples of fast shutter speeds when shooting moving subjects
Diaphragm
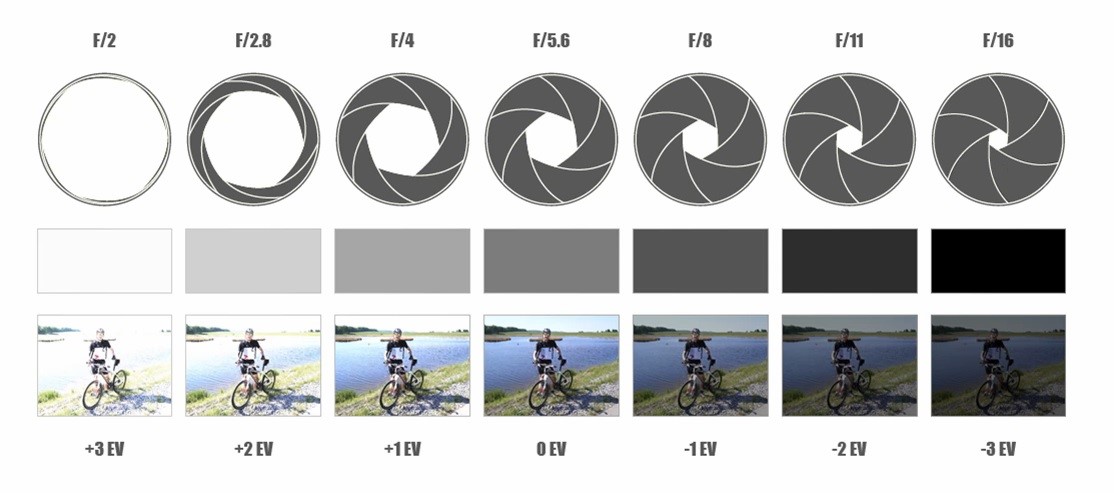
This is the "eye" of the camera, which restricts the flow of light. The more the aperture is open, the less its value, and vice versa.
In order to separate the subject from the rest of the background, you need to select small aperture values (F 2.8; F1.4). So, the smallest details are drawn at the desired object, and the rest of the space is blurred.
Aperture Value Examples
You can adjust the desired aperture value in shooting mode A. Depending on the changes in the values, the shutter speed will automatically change.
Large aperture values (F 32, F22, F16) are set to shoot a frame in which you want to maintain the sharpness of all objects. Most often, such parameters are used for photographing landscapes, reportage shooting, architecture.
Image sensitivity (ISO)
Adjustments to ISO values depend on the brightness of the frame. In sunny weather, in good light, set small values (100, 200). Thus, the pictures will be clear, with minimal noise.
The ISO value is increased at short shutter speeds, as well as to compensate for the lack of light.Noises that appear in the frame, at high ISO values, must be removed using special programs. Otherwise, the photo will be of poor quality.
How to choose a shooting mode
Now, having figured out how to set up the camera, you can choose the right shooting parameters, depending on the situation.
Mode for the sports genre "S"
If you want to capture running, swimming, dancing, flying birds and other dynamic stories, choose "S". In this mode, the aperture is set automatically. The task of the photographer is to set the ISO and shutter speed. Short shutter speeds allow you to capture dynamics without blurring details. In good lighting, setting ISO 200 is enough.
In addition, the “S” is suitable when the photographer himself is in motion. For example, the work of a photojournalist requires this. The principle of parameter settings will be the same.
Aperture Priority A
Used by the photographer for the following purposes:
- creating the effect of "bokeh" - a blurred background with focus on one object (detail);
- when portrait photography (focus on 1 model);
- in group photography (to maintain sharpness for all people in the photo);
- to draw many details of the landscape, architectural structure.
The choice of this mode is necessary in difficult shooting conditions. If the illumination changes every minute, the aperture options will have to be changed manually. So, to make it clearer, for clarity, we give two examples.
Example 1. The choice of aperture, depending on the amount of light
In the first shot at ISO 200, the f / 9 aperture is set.
ISO 200 set aperture f / 9
In the second picture, with the same photosensitivity, the parameters changed to f / 16. Therefore, the diaphragm needs to be closed in bright sunshine in order not to “burn through” the frame objects.
ISO 200 set aperture f / 16.
Example 2. Here the diaphragm depends on the exposure.
The first photo contains all the details; there is no emphasis on a separate object. The f / 6.3 aperture is set there.
F / 6.3 aperture set
In the next frame, focus on the central part of the sunflower, the rest of the space, while defocused. Aperture f / 16.
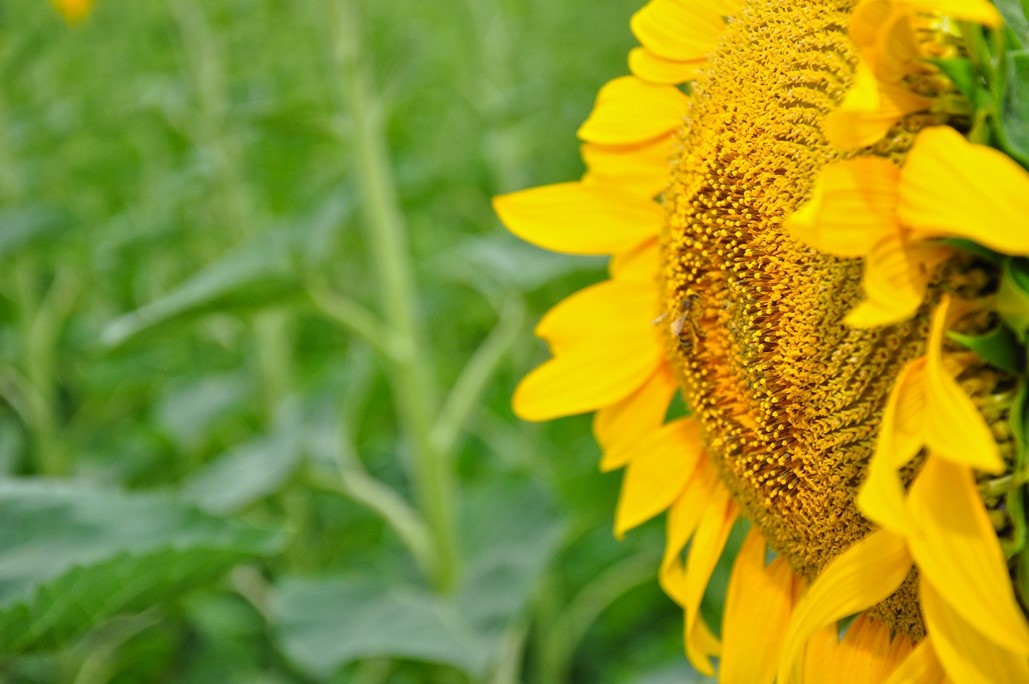
F / 16 aperture
Manual control "M"
The most difficult option, for exceptional cases and for professionals. Here, the photographer will have to set three parameters:
- excerpt
- aperture
- ISO (photosensitivity)
The main advantage is that the photographer can set up his camera exactly the way he wants. This allows creativity to go 100% full. Changing one of the parameters will not automatically adjust the other. So you can adapt to completely different shooting conditions.
Studio photography
When shooting in the studio, the task is complicated by the studio equipment. Traditional kit:
- camera
- additional light sources (e.g. softboxes)
- synchronizer
Since the light changes instantly during shooting in the studio (flash), only the manual mode “M” is selected to configure the camera.
An example of the standard settings used for studio photography
| Setting type | Parameters |
| ISO | minimum (in different camera models from 100 to 200) |
| Excerpt | 1/130 |
| Diaphragm | f / 5.7 |
According to statistics collected in 2018 among the Russian-Internet audience, the leader in studio shooting is Canon. Nikon's camera is ranked next in terms of sales.
Regardless of the camera model, there should be sync contact on the top of the camera. The synchronizer is also threaded into it, so that when the button is pressed, additional lighting will work.
So, after understanding the modes and the main settings, you can proceed to practice. To go from a beginner to a pro, you need to make photography a way of life. So, step by step, simple photographs will become artistic masterpieces that find a lively response in the viewer.
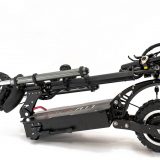 Top 5 best off-road electric scooters
 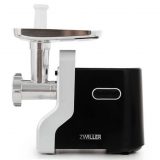 TOP-5 electric meat grinder 2020
  12 best electric toothbrushes
 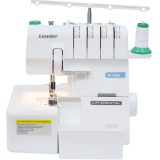 12 best overlocks
 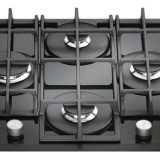 20 best gas hobs