The use of various electrical appliances greatly simplifies the implementation of many types of work, but unfortunately, all complex products break down sooner or later. Failure of the electric trimmer
will lead not only to the impossibility of carrying out work in the garden, but also to significant financial waste for repairs. Significantly save money and improve your own knowledge in the device of this technique is possible if you repair the trimmer yourself. Before you begin to perform this type of work, you should carefully study the principle of operation of this type of household appliances.
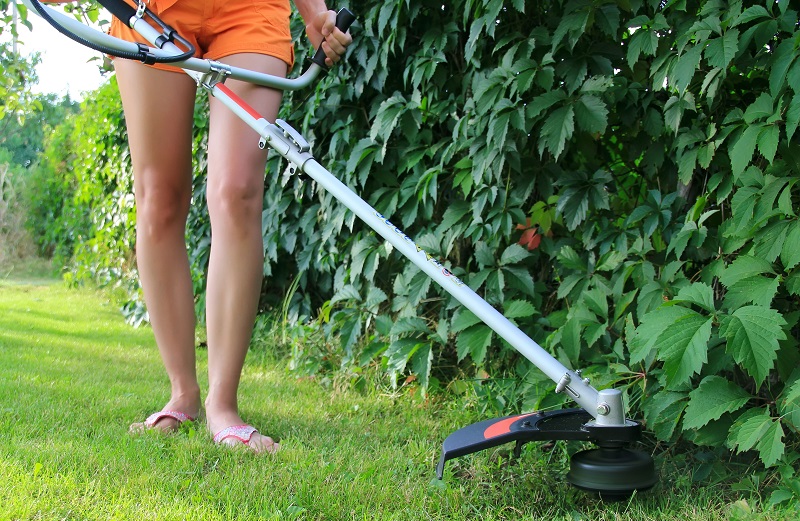
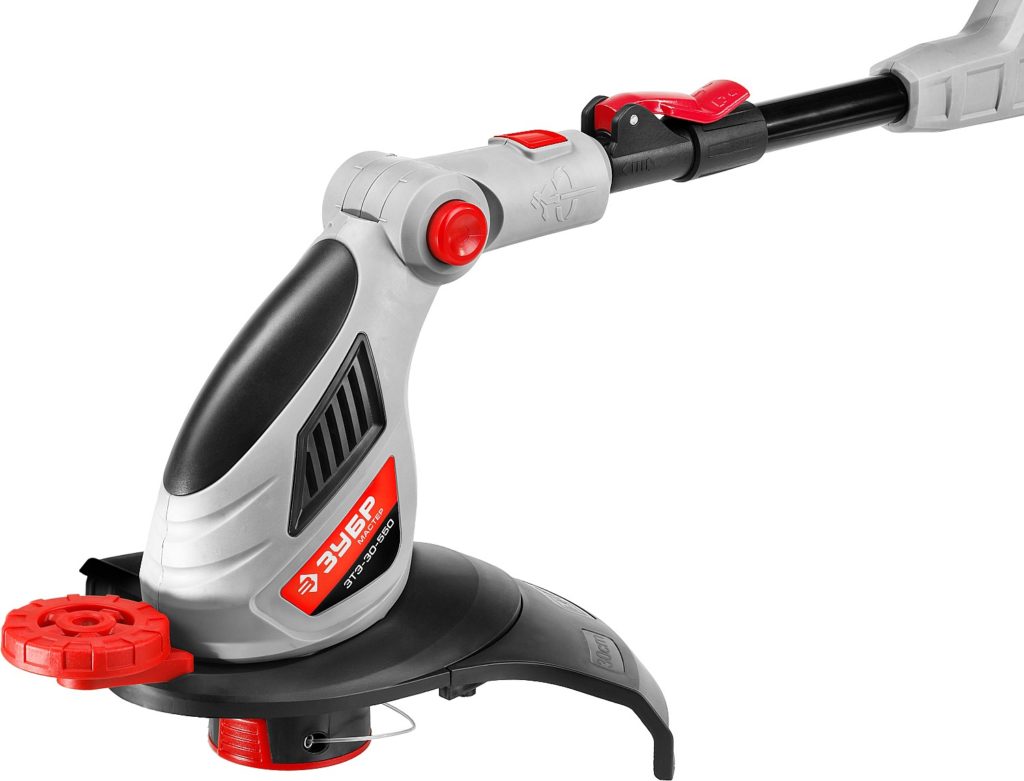
Electric trimmer: device and principle of operation
The electric trimmer consists of:
- Enclosures with an electric motor.
- Detachable rod.
- Trimmer coil with protective cover.
- Riveting for the shoulder strap.

Electric trimmer device
A power cable with a plug is connected to the trimmer body, through which electric current is transmitted. A flexible shaft is located in the cavity of the split rod, due to which torque is transmitted to the trimmer coil. The device is turned on by pressing the button located on the handle of the device.
This trimmer design is the most common, but
if desired, you can find products running on battery power, as well as with the bottom location of the electric motor.
DIY grass trimmer repair: common causes of breakdowns
The trimmer may fail during operation under high loads. This situation may occur when the treated area is covered with tall grass.
Mowing tall grass
When working in such areas, the engine may fail, bearings may break, and the electric braid coil may be destroyed. When working in rainy weather or in very foggy conditions, the trimmer may “burn out” as a result of a short circuit.
Damage to this electrical appliance can occur as a result of frequent use. If the household appliance will be used in this mode, then after operating a certain number of hours, it will be necessary to carry out mandatory repairs and preventive adjustment of many parts of the electrical appliance.
Start button repair
If the electric braid does not show signs of life, then perhaps an electric cable breakage inside the handle of the housing, or the power button of the electric motor is faulty.
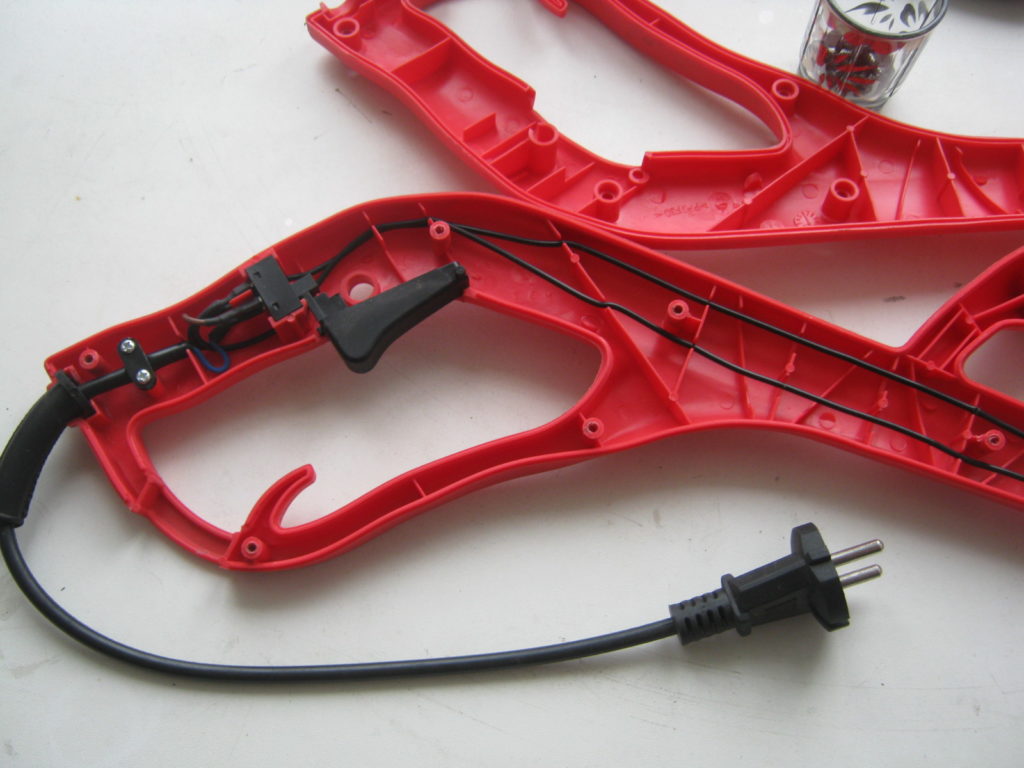
Start button
In order to diagnose electricians, you will need to disassemble the handle of the electrical appliance. The work is carried out in the following sequence:
- The control knob is removed from the frame of the electric braid.
- The handle is disassembled.
When access to the inside of the electric braid is provided, a multimeter measures the resistance of the power button. If there is no resistance after pressing, then this
The item must be replaced. It is also necessary to check the connection points of the power cable with the internal electrics located in the handle
instrument. Contacts should be checked for open circuit with a multimeter. Often such a malfunction can be determined “by eye”. After the contact break is detected, it is enough to solder the damaged area to restore the electric trimmer.
In the absence of a multimeter, diagnostic work can be done with an indicator screwdriver.For this purpose, plug in the power supply and using this diagnostic tool
find the "phase wire" and thus check the presence of electric current before the power button and after. If the phase current is detected in another electrical circuit, it is enough to install the electrical plug on the contrary in the socket so that the correct diagnostics can be carried out
trimmer malfunctions. The second diagnostic option should be done with great care, because there is a danger of electric shock during the integrity of the wiring.
Motor check
If the power button of the device and the sections of the internal wiring turn out to be intact, then you should proceed to check the electric motor. For this purpose, it is necessary to remove the housing cover, having previously unscrewed several screws with a screwdriver.
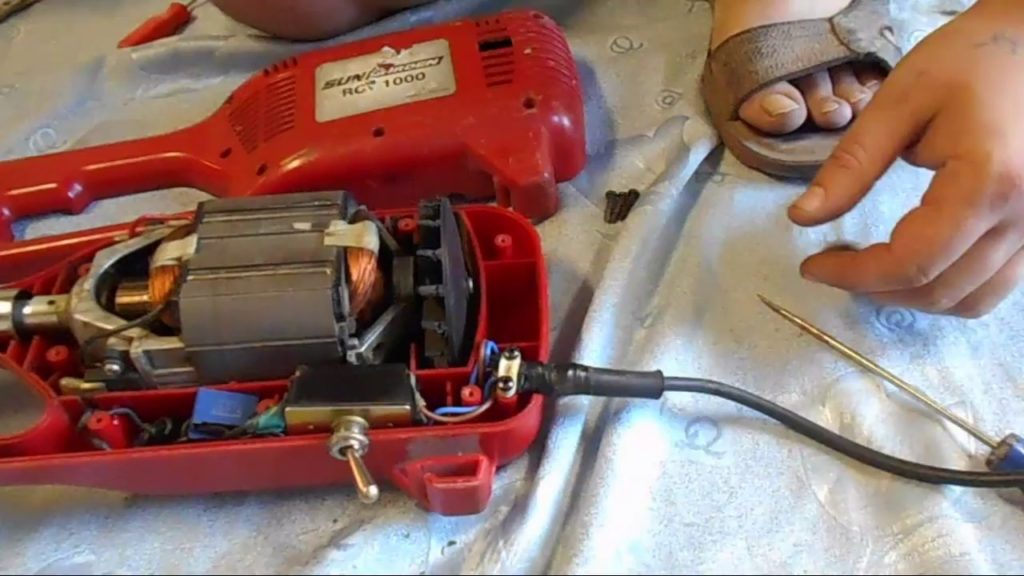
Motor check
The first thing to do after accessing the electric motor is to check the functionality of the brush assembly. If the brushes are worn above the maximum permissible value, then the electric motor can completely stop or work unstably. In the case when the brushes and the collector are in perfect order, you should proceed to the "ringing" of the motor winding. In order to exclude the possibility of breakage in both circuits, it is necessary to alternately carry out
check the stator and rotor of the motor. To perform this operation, you must:
- Remove engine from electric braids.
- Turn the multimeter into resistance measurement mode and check for a break in all collector plates. When checking, there should also be no significant deviations in the readings of the diagnostic tool.
- Check for a breakdown of the rotor winding to ground. For this purpose, one probe of the multimeter should be connected to the "mass" of the rotor, and the other to any collector plate. The multimeter should be set to a resistance measurement mode of more than 1 MΩ. The resistance of a working motor between the winding and the "mass" should be very large.
- Measure the stator winding resistance. If the resistance is absent, then we can state in this case its malfunction.
- If the stator wiring is in perfect order, then a possible breakdown of it on the housing is checked, in the same way as for stator diagnostics.
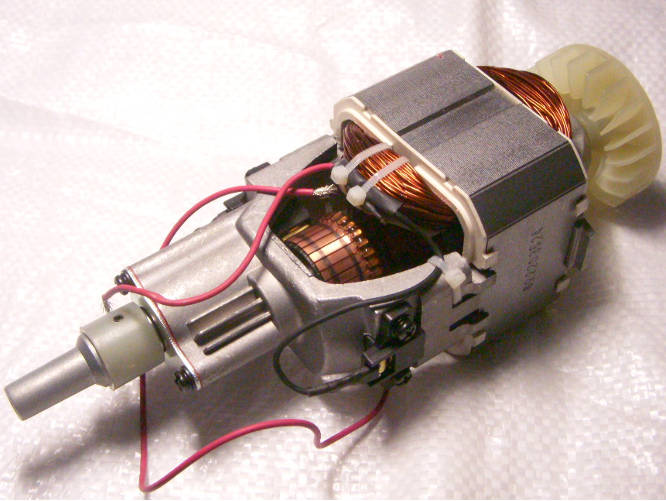
Trimmer motor
When checking in this way, in 90% of cases it is possible to establish the cause of the motor failure. Check for interturn circuit, which can manifest itself only during the operation of the engine, this will not work, but you can diagnose such a malfunction
by indirect signs, which are manifested in a decrease in electric motor power and its overheating. If the electric motor is equipped with a thermal relay, then such an electric braid, with an interturn circuit, will work for a short time, after which the trimmer will automatically turn off. In some cases, a thermal relay can cause a malfunction of the trimmer motor, therefore, a set of test
events, the “ringing” of the thermal relay should be enabled using a multimeter or tester.
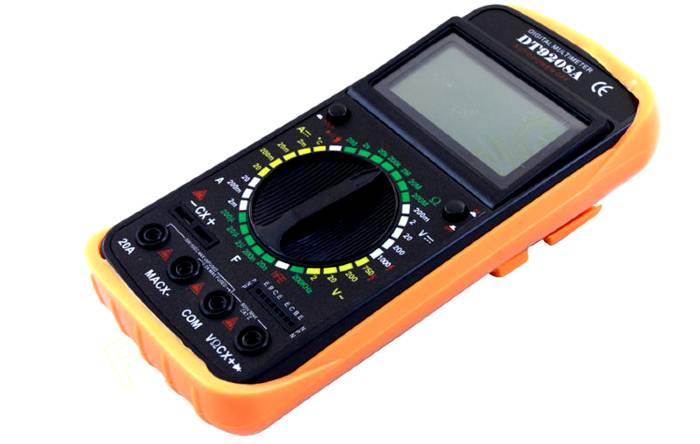
Digital multimeter
It is very simple to do this: in good condition, on a cold engine, the thermal relay passes electric current, in
malfunctioning electrical circuit will be open.
The problems of operability of the electric braids associated with wire breakage are easily eliminated by soldering the contacts, but if the motor “burned out”, then it will be necessary to perform a complex rewinding process, which can
Perform only by a qualified technician. In many cases, it is much easier and cheaper to purchase a new engine and install it in place of a burned out one. This work can be done independently.
in reverse order of removal.
If the trimmer electrician is in good condition, you should pay attention to other types of malfunctions that may occur during operation of the electric braid.
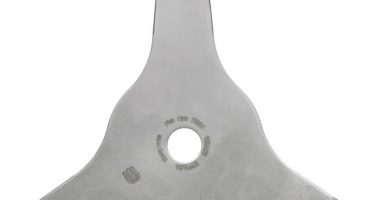
Trimmer mechanical failures
If the electric motor of the device turns on, but the rotation of the reel with fishing line does not occur, the causes of such a malfunction may be a break in the flexible shaft transmitting torque. This problem is especially often manifested with improper care of the appliance. For example, in the absence of lubrication inside the rod of the electric braid, the cable will undergo excessive friction and for a short time this part will fail. To replace it, it is enough to disconnect the upper part of the electric braid, in which the electric motor is located, after which it will be possible to remove the flexible shaft from the rod.
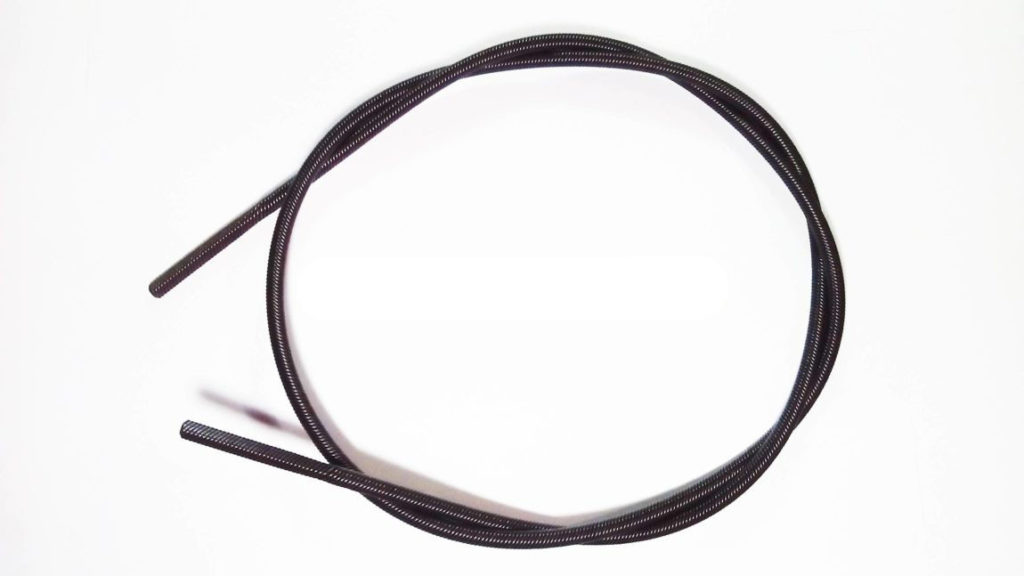
Flexible shaft
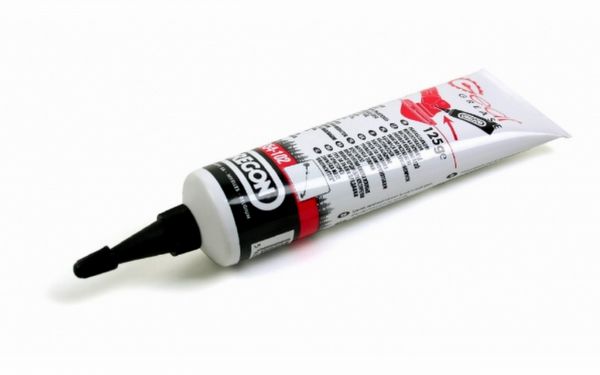
Flexible shaft grease
If there is a difficulty in removing the second part of the cable remaining in the cavity, the lower part of the braid with the spool and shaft is disconnected. The assembly of the mechanism is in the reverse order.
Engine Trimmer
Before installation, the flexible shaft must be carefully lubricated with grease to reduce the likelihood of a repeated failure of this part.
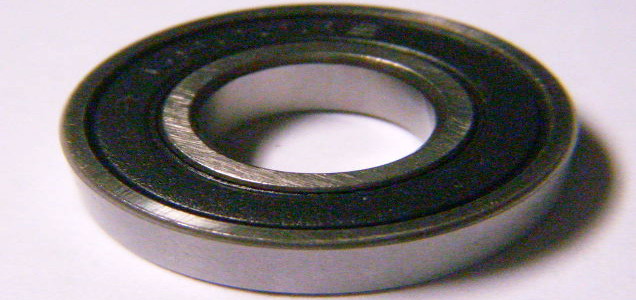
Bearing Shaft Bearing
Rupture of the flexible shaft can occur only in models of an electric trimmer with an upper engine.
Electric braids with a lower engine location do not have a flexible shaft, but malfunctions of such devices can manifest themselves in the form of destruction of the bearing of the main shaft of the electric braid on which the reel with a fishing line is installed.
It is very simple to repair such a malfunction, it is enough to replace a failed bearing with a new part.
Conclusion
With frequent use and improper care of the electric braid, the listed malfunctions can appear with enviable regularity. To minimize the likelihood of damage, it is enough not to overload the device, lubricate the rubbing parts in time and do not work at high humidity. Despite some restrictions when working with this device at the electric trimmer, unlike gas trimmers, malfunctions in the ignition unit cannot occur. And such a malfunction as: “the trimmer motor immediately stalls”, in principle, it cannot be. The engine of the electrical device cannot stall, since it does not need to be started. To start, just press the power button, so many summer residents choose, to care for the surrounding area, electric trimmers.
About pet hair clippers You can read in our article.

the article is very useful I would like more tips on specific failures, for example: after starting the trimmer, it stops after a few seconds, restarting is useless but the next day the picture repeats Help advice